TRENDING
How to Start Drawing as a Beginner

8 min read
Last updated November 6, 2026
To start drawing as a beginner, get a pencil, an eraser and a sketchbook. Practice basic shapes like circles, cubes and cylinders for 10 to 15 minutes a day. Then draw simple objects around you and focus on what you see, not what you think you see.
Drawing is a skill, not a gift. Anyone can improve with short, regular practice and a little patience.
Key Takeaways
- You only need simple supplies to start.
- Basic shapes build every drawing.
- Draw from real objects, not memory.
- Practice a little every day.
- Keep old sketches to see your progress.
On This Page
- What You Need
- How to Start Drawing Step by Step
- Beginner Drawing Exercises
- Tips to Improve Faster
- Stay Motivated
- Learn to See Shapes
- Hold Your Pencil in Different Ways
- Light and Shadow Basics
- Simple Perspective Tips
- Draw From Real Life
- Use Photos and References Fairly
- Build a Daily Sketch Habit
- Drawing for Stress Relief
- Free Ways to Learn More
- Draw With Kids
- Track Your Progress
- Share Your Art Safely
- Common Beginner Mistakes
What You Need
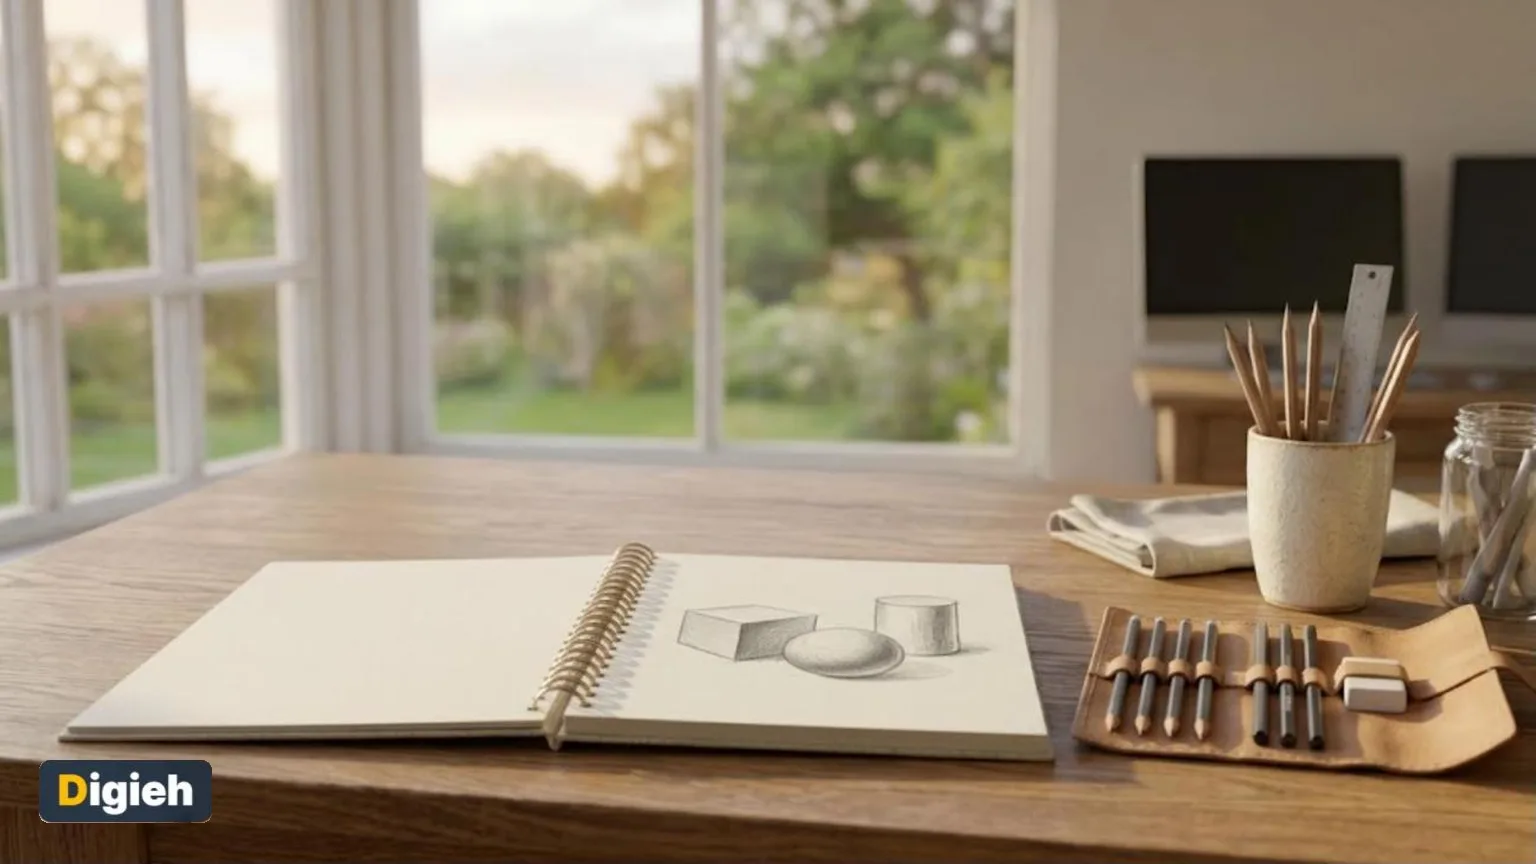
A regular pencil and eraser are enough. A few drawing pencils, like 2B and 4B, add darker tones.
Choose a sketchbook with smooth, thick paper.
A kneaded eraser is a nice extra. It lifts graphite gently without tearing the page.
You do not need expensive tools. Many great artists still sketch with a basic pencil.
15Minutes of daily practice can grow your drawing skills fast.
How to Start Drawing Step by Step
1. Warm Up
Draw loose lines and circles for two minutes. It relaxes your hand.
2. Practice Shapes
Draw circles, squares, cubes and cylinders from different angles.
3. Draw Simple Objects
Try a mug, an apple or a book on your table.
Quick tip. Squint at your subject. It blurs details and shows the main light and dark shapes.
4. Add Light and Shadow
Notice where light hits. Shade the darker side softly.
5. Review and Repeat
Compare your sketch to the object. Note one thing to improve next time.
What would you like to draw?
- People
- Animals
- Landscapes
- Everyday objects
Beginner Drawing Exercises
| Exercise | What It Builds |
|---|---|
| Blind contour drawing | Hand-eye connection |
| Shape practice | Form and structure |
| Shading scales | Light and dark control |
| Five-minute sketches | Speed and confidence |
Use this calculator to track your practice time.
Drawing practice tracker
Good to know. Softer pencils like 4B and 6B make darker lines. Harder pencils like 2H make light lines.
- Pencils (HB, 2B, 4B)
- Eraser
- Kneaded eraser
- Sketchbook
- Pencil sharpener
- Good lamp
Tips to Improve Faster
Hold the pencil loosely for smooth lines. Use your whole arm for big shapes.
Draw what you see, not what you expect. Look at the object more than the paper.
Stay Motivated
Join a free online drawing challenge. Daily prompts give you ideas.
Date every sketch. Looking back after a month shows real progress.
Share your work with a friend or online group. Kind feedback can spark new ideas and keep you going.
Try Digital Drawing
Tablets and free drawing apps let you undo mistakes easily. They are great for practice.
The same basics apply. Shapes, light and patience matter on any surface.
Add to calendar
Learn to See Shapes
Every object starts with simple shapes. A mug is a cylinder, a book is a box and an apple is a sphere.
Before you draw, squint at the object for a few seconds. Squinting blurs details and shows the main shapes.
Sketch those shapes lightly first. Add details only after the big shapes look right.
The National Gallery of Art offers a free drawing unit with lessons and examples. It shows how real artists use line and shape.
Hold Your Pencil in Different Ways
Most people hold a pencil like they do for writing. That grip works well for small details.
For loose sketches, hold the pencil farther back, near the end. This helps you draw longer, lighter lines.
Try an overhand grip for shading. Hold the pencil on its side and move your whole arm.
Switching grips gives you more control over your lines. Practice each one for a few minutes a day.
Light and Shadow Basics
Shading turns flat shapes into solid objects. It shows where light hits and where it does not.
Pick one light source, like a window or lamp. Notice the bright side, the dark side and the shadow on the table.
Start with three values, light, medium and dark. Add more shades as you get comfortable.
Blend softly with a tissue or your finger. A kneaded eraser can lift out bright highlights.
Simple Perspective Tips
Perspective makes drawings look deep and real. Things far away look smaller than things close up.
Draw a horizon line across your page. Then pick a single point on that line as your vanishing point.
Lines that run away from you, like railroad tracks, meet at that point. Try drawing a simple road or hallway this way.
Do not worry about perfect perspective early on. Even a little depth makes a big difference.
Draw From Real Life
Drawing real objects trains your eyes faster than copying photos. Real life shows depth, light and texture.
Start with simple items at home, like fruit, cups or shoes. Place them near a window for good light.
Later, try drawing outdoors in a park or cafe. Quick sketches of people and trees build speed and confidence.
Use Photos and References Fairly
Photos are useful for practice, especially for animals and faces. Use them to study shapes and proportions.
Be careful with other people’s photos and artwork. The United States Copyright Office answers common questions about who owns creative work.
For practice at home, any reference is fine. If you plan to share or sell your art, use your own photos or free-to-use images.
Free updates
Join the Digieh list
Be the first to know when our weekly brief launches.
No spam. Unsubscribe anytime. Read our Privacy Policy.
Build a Daily Sketch Habit
Short daily practice beats long, rare sessions. Even 10 minutes a day adds up fast.
| Day | 10-Minute Exercise |
|---|---|
| Monday | Draw five simple shapes |
| Tuesday | Sketch an object on your desk |
| Wednesday | Practice light and shadow |
| Thursday | Draw your hand |
| Friday | Do quick one-minute sketches |
| Weekend | Draw something outdoors |
Keep your sketchbook in one easy spot. When it is visible, you are more likely to use it.
Drawing for Stress Relief
Many people find drawing calming. Focusing on lines and shapes can quiet a busy mind.
Try doodling patterns while you listen to music. There is no right or wrong way to do it.
The Centers for Disease Control and Prevention (CDC) lists healthy ways to cope with stress. Making time for hobbies you enjoy is one of them.
Free Ways to Learn More
You do not need expensive classes to improve. Your local library likely has drawing books and art magazines.
Khan Academy offers free art history lessons. Studying famous works teaches you how artists see the world.
Many museums offer free sketching days. Bring a small sketchbook and draw your favorite piece.
Draw With Kids
Drawing together is a fun family activity. Kids are often fearless with art, which can inspire adults too.
Try a game where one person draws a shape and the next turns it into something. A circle might become a sun or a cat.
Praise effort, not perfection. The goal is to have fun and create together.
Track Your Progress
Date every drawing in your sketchbook. This makes it easy to see how far you have come.
Look back at your first pages after a month. Most beginners feel amazed by their growth.
Pick one skill to focus on each month. For example, work on shading in January and faces in February.
Share Your Art Safely
Sharing art can bring helpful feedback and new friends. Start with people you trust, like family or a local art group.
If you post online, think about privacy. Avoid sharing your home address, school or daily routine in posts.
Online comments vary a lot. Focus on kind, useful feedback and ignore the rest.
Common Beginner Mistakes
Pressing too hard is a classic mistake. Dark early lines are hard to erase, so start light.
Many beginners draw what they think an object looks like. Look at the real object more than the paper.
Skipping practice days also slows progress. A little drawing most days works better than one long session a week.
Drawing Mistakes Beginners Make
New artists often make a few common mistakes. Fixing them helps you improve faster.
- Pressing too hard with your pencil
- Starting with tiny details
- Comparing your work to experts
- Giving up after a few tries
Start with light lines and simple shapes. Add details only after the shapes look right.
Keep a Sketchbook
Draw a little every day in one sketchbook. Looking back later shows how much you have grown.
Have fun with it.
Try this today. Set a timer for 10 minutes and draw a coffee mug from real life. Focus on the basic shapes, not the details.
Test Yourself
What should beginners practice first?
- Detailed portraits
- Basic shapes
- Large murals
Shapes form the base of every drawing.
Which pencil makes darker lines?
- 4B
- 2H
- 4H
B pencils are softer and darker.
Frequently Asked Questions
Can anyone learn to draw?
Yes. Drawing improves with regular practice.
How long should I practice each day?
Ten to fifteen minutes is a great start.
What should I draw first?
Simple objects like cups, fruit and books.
Should I use a pen or pencil?
Start with pencil so you can erase and adjust.
What pencil should a beginner buy?
A basic HB pencil works for most sketches. Add a 2B or 4B pencil for darker shading.
Should I draw from photos or real life?
Both help. Real life trains your eyes for depth, while photos are useful for subjects that move.
Wrapping Up
Grab a pencil and draw one simple object tonight. Every artist began with a single line.
Make it a cozy evening with our list of Netflix Christmas movies. Find art supply deals with our Black Friday guide.
Found this useful?
Editor’s Note
This guide is accurate as of November 6, 2026. Every artist learns at their own pace.
Spot an error in this article? Please contact us at support@digieh.com or read our Corrections Policy.
Keep exploring
Your next read is waiting
 1TechnologyThe Galaxy S27 May Use Three Different Chips4 min read
 2SportsHow to Choose Running Shoes That Fit Right8 min read
 3HealthCancer Diagnoses in England Hit a Record High4 min read
 4BusinessHow to Work From Home Productively8 min read
 5NewsChina Is Building Its Biggest Aircraft Carrier Yet4 min read
 6Beauty & Personal CareSimple Skincare Routine for Oily Skin8 min read